

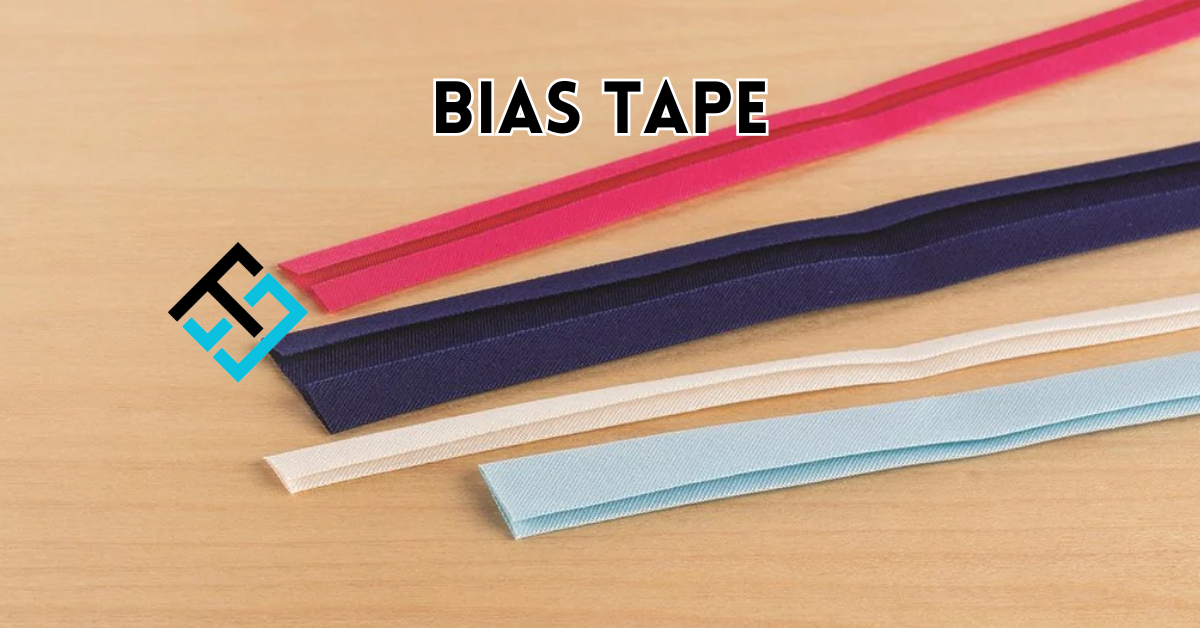
Bias tape is a unique strip of fabric that helps make the edges of clothes and crafts look neat and last longer. It’s like a colourful ribbon that finishes the edges and makes sewing projects look professional. If you’ve ever seen a smooth, finished edge on an apron, quilt, or pocket, there’s a good chance bias tape was used. This guide will help you understand bias tape in a simple and fun way!
What Is Bias Tape?
Bias tape is a fabric strip cut diagonally across the fabric’s weave. This diagonal cut is called the “bias,” which makes the tape stretchy and flexible. This stretchiness helps it curve around edges smoothly, making it perfect for finishing raw edges on fabric and preventing them from fraying. It also adds a decorative touch to sewing projects.
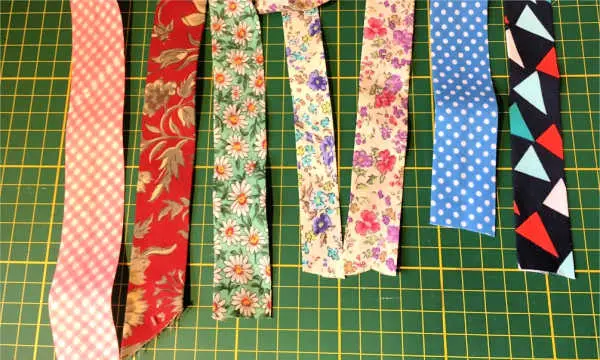
Bias tape comes in different widths, colours, and patterns, allowing you to choose the best one for your project. Whether you’re making clothes, home decor, or fun crafts, bias tape helps add a neat, professional finish.
read also: Sublime Directory
Types of Bias Tape
There are two main types of bias tape, each with its use:
Single-Fold Bias Tape
Single-fold bias tape is a single layer of fabric folded once. It is used mainly for decorative edges, facing, and simple hems. Since it’s thinner, it’s perfect for lightweight fabrics and projects where you want a subtle finish.
Double-Fold Bias Tape
Double-fold bias tape is fabric folded twice, making it thicker and more durable. This type is ideal for binding edges of heavy fabrics like quilts, aprons, and upholstery. It’s commonly used when extra strength and durability are needed.
How to Make Your Bias Tape
Making bias tape at home is a fun and creative process! You can customize it with different fabrics, colours, and patterns. Here’s how you can make your bias tape step by step:
- Choose Your Fabric—Choose a fabric you like. Cotton is a popular choice because it is easy to work with.
- Cut Diagonally – Cut strips of fabric at a 45-degree angle to the fabric’s weave. This diagonal cut gives the bias tape its stretchiness.
- Fold and Press – Fold the edges of the strip toward the centre and iron them flat. For double-fold bias tape, fold the strip again in half and press it with an iron.
- Trim If Needed – Make sure your bias tape is even and smooth before using it in your project.
Making your bias tape allows you to personalize your sewing projects and use up fabric scraps creatively!
Fun Projects Using Bias Tape
Bias tape can be used in so many different projects. Here are some fun ways to use it:
- Aprons – Add bias tape to the edges for a neat and colourful finish.
- Pockets – Decorate pocket edges with contrasting bias tape for a stylish look.
- Quilts – Use bias tape to finish quilt edges neatly and securely.
- Baby Bibs – Bias tape is perfect for binding the edges of baby bibs to make them soft and durable.
- Tote Bags – Add bias tape to bag handles and edges to strengthen them while adding a decorative touch.
- Headbands – Sew bias tape into stylish headbands for a fun and easy DIY accessory.
Bias tape makes sewing projects look polished and professional while adding a touch of creativity and colour.
Where to Find Bias Tape
If you don’t want to make your bias tape, you can easily buy it from different places. Some popular options include:
- Fabric Stores – Local craft and fabric stores usually have various bias tape options in different colours and sizes.
- Online Retailers – Websites like Amazon, Etsy, and Joann Fabrics offer a wide selection of bias tape you can order from home.
- Sewing Supply Shops – Specialty sewing shops often carry high-quality bias tape, which is perfect for professional sewing projects.
Tips for Using Bias Tape
Using bias tape is easy, but here are some helpful tips to make your sewing projects even better:
- Pin Before Sewing – Always pin your bias tape in place before sewing to ensure a smooth and even application.
- Go Slow Around Curves – Take your time when sewing bias tape around curves to prevent wrinkles or puckering.
- Use a Bias Tape Maker – A bias tape maker is a handy tool that helps fold fabric strips evenly and quickly.
- Match or Contrast Colors – You can match bias tape with your fabric for a seamless look or use a contrasting colour for a fun pop of colour.
- Practice Makes Perfect – The more you use bias tape, the better you’ll get at sewing it neatly and professionally.
Conclusion
Bias tape is a fantastic sewing tool that helps finish edges, strengthen seams, and add decorative touches to fabric projects. Whether you’re a beginner or an experienced sewer, bias tape is an easy and effective way to give your projects a polished look. With practice and creativity, you can use bias tape to enhance your sewing skills and create beautiful handmade items. So grab some bias tape and start exploring all the fun ways to use it!
read more interesting blogs techspare